

- Material
-
- Aluminium 61
- Brass 8
- Stainless Steel 8
- Galvanised Steel 1
- Mild Steel 1
How to Fit an Aluminium Splashback for Your Kitchen Wall
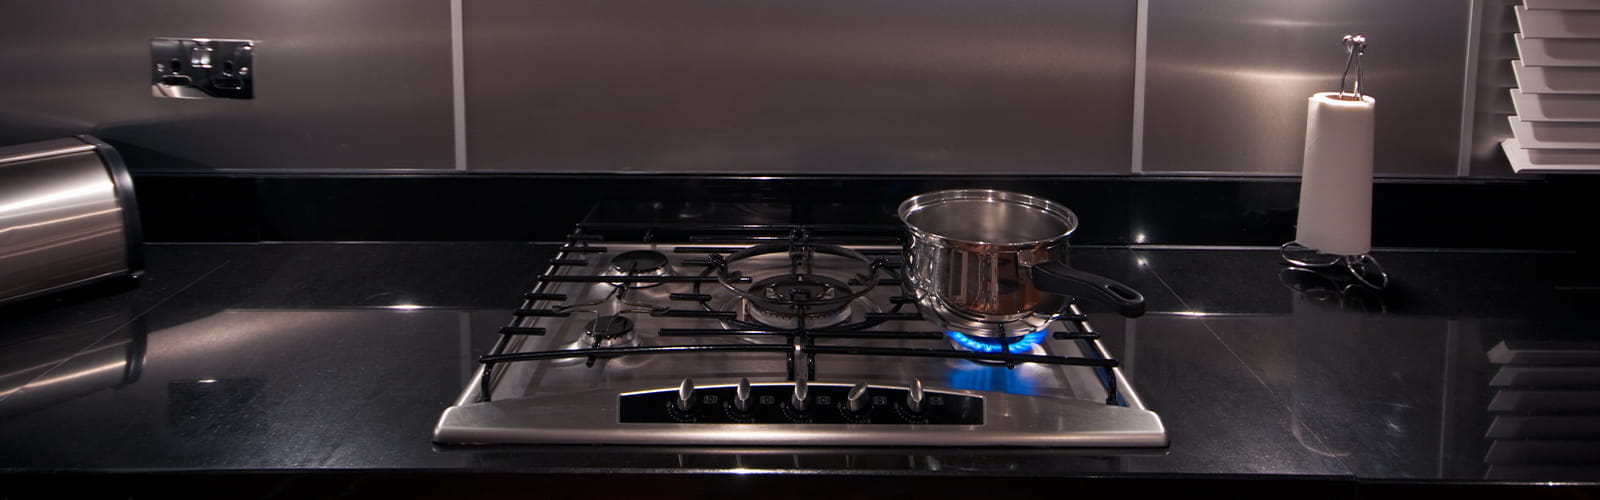
Somewhere in most kitchens, a wall behind the hob has taken more abuse than the rest of the room combined. Splashes, steam, and the odd scorch mark add up fast, and glass or stone rarely justifies the cost for one wall.
Aluminium does the same job for a fraction of the price, and fitting it doesn't require specialist skills. It's also lighter to handle than either alternative, which is part of why aluminium sheet turns up in everything from splashbacks to shelving.
However, what it does call for is getting three stages right, in order:
- Measuring the recess and ordering the right aluminium sheet.
- Preparing the wall and panel before any adhesive touches either.
- Bonding and sealing the panel for a finish that lasts.
Skip a stage, and you'll feel it later, so here's how to get each one right.
Preparing to Fit Your Aluminium Splashback
Everything that makes a splashback fit well happens before you pick up any adhesive. Get the measurement and surface prep right, and fitting becomes a formality. Rush either, and no amount of careful bonding will fix a panel that's the wrong size.
Measuring the Space & Ordering the Right Sheet
Measure the recess at the top, middle, and bottom of both height and width, since kitchen walls are rarely perfectly square. Then order your sheet to the following spec:
- A panel roughly 2mm smaller than the narrowest measurement.
- 1050A aluminium sheet, 1.5mm or 2mm thick, the splashback standard.
- Cut allowing for Click Metal's standard -0/+2mm tolerance.
That 2mm clearance leaves room for a neat silicone bead and stops binding if the recess is slightly out of square. Under EN 485-1, the European standard for ordering aluminium sheet, a tolerance only applies if stated explicitly in the order document, not assumed, so factor it into your measurement rather than specifying something tighter afterwards. See our guide on how to order cut-to-size metal online without going wrong.
Thicker material is harder to bond and adds weight to a wall fixing, and thinner material can flex over time. Once your dimensions are confirmed, order your aluminium splashback sheet, cut to size.
Preparing the Surface & The Panel
The wall needs to be clean, dry, and structurally sound before anything touches it. Work through this checklist before bonding:
- Re-fix any loose or hollow-sounding tiles on the wall first.
- Remove the panel's protective film and check the cut edges for burrs.
- File or sand any sharp burr smooth with a fine file or emery paper.
- Wipe the panel and wall with a solvent-soaked, lint-free cloth.
- For a stronger bond, abrade with grit paper, then wipe again.
Our guide to choosing the right aluminium grade for your project explains why 1050A is a good choice. Don't bond aluminium over a painted surface unless the paint is fully cured, since fresh paint will fail under the panel's weight.
Fitting & Finishing Your Aluminium Splashback
With the panel cut to size and both surfaces prepared, only two things remain. Choose an adhesive suited to a wet area, then seal the edges once it's up. Skipping either is the most common reason a splashback fails early.
Adhesive Selection & Fitting
A kitchen-rated silicone sealant is suitable for smaller panels and applies easily by hand. For larger panels or a flatter finish, a solvent-free contact adhesive or a hybrid polymer provides a stronger, more even bond.
Sealant selection for a wet area isn't something to guess at. BS 6213, the British Standard covering sealant selection for construction, breaks the process into three checks:
- Assess how much the joint will move over time.
- Match that movement against a sealant's ISO 11600 classification.
- Confirm the manufacturer can evidence performance in a similar joint.
That's a level of rigour built for structural joints, but the principle still holds for a splashback. Pick a sealant rated for the movement and moisture the joint will actually see.
Apply the adhesive to the panel back in a snake or zigzag pattern, leaving a 20mm border clear for the edge seal. Carefully offer it to the wall, since most adhesives grip on first contact. Clips or supports can hold it steady while it cures on an uneven wall.
Once fixed, run a bead of kitchen-grade silicone along all four edges and tool it smooth with a wetted finger.
Edge Finishing & Maintenance
A neat silicone bead is the standard finish for most splashbacks. If you want a more defined border, aluminium edge trim or an L-section profile gives a sharper look and adds extra edge protection.
For ongoing care, a soft cloth and mild soapy water keep aluminium clean without damaging it. Avoid abrasive cleaners, steel wool, and acid-based products, which can dull or scratch the finish.
When left in a genuinely wet spot for years, even a well-fitted panel can start to pit, so it’s worth knowing what that looks like before it does.
Finish a Job that Pays Off
A splashback project can look like a lot to get right first time. Get it right, and you're left with a wipe-clean panel that outlasts most of what sits around it, at a fraction of the cost of glass or stone.
The difference between the two simply comes down to following the sequence in order:
- Measure the recess and order aluminium cut to size.
- Prepare the wall and panel before any adhesive touches either.
- Choose adhesive and sealant suited to a wet kitchen wall.
Click Metal has supplied cut-to-size aluminium, steel, galvanised steel, and brass to trade and DIY customers across the UK since 1994. Every sheet order is cut to your exact measurements, with a -0/+2mm tolerance and UK-wide delivery as standard. If you're not sure which grade or thickness suits your kitchen, the team can talk it through first. If your build needs a specialist grade or a larger commercial quantity, our team can point you towards Doré Metals as well.
Order your aluminium splashback sheet cut to your exact measurements, or get in touch on 01794 526090 for advice first.
External Sources
[1] European Aluminium, How to Order Aluminium According to European Standards (2019): https://european-aluminium.eu/wp-content/uploads/2022/10/how-to-order-aluminium-according-to-european-standards_june-2019.pdf
[2] TWI, Surface Preparation Requirements Prior to Adhesive Bonding: https://www.twi-global.com/technical-knowledge/faqs/faq-what-are-the-minimum-requirements-for-surface-preparation-prior-to-adhesive-bonding
[3] British Adhesives and Sealants Association (BASA), The BASA Guide to the British Standard BS 6213 - Selection of Construction Sealants (2001): https://www.basa.uk.com/assets/pdf/BASA+Guide+to+BS6213
Recent Posts


