

- Material
-
- Aluminium 61
- Brass 8
- Stainless Steel 8
- Galvanised Steel 1
- Mild Steel 1
How to Attach Aluminium Cladding to an External Wall
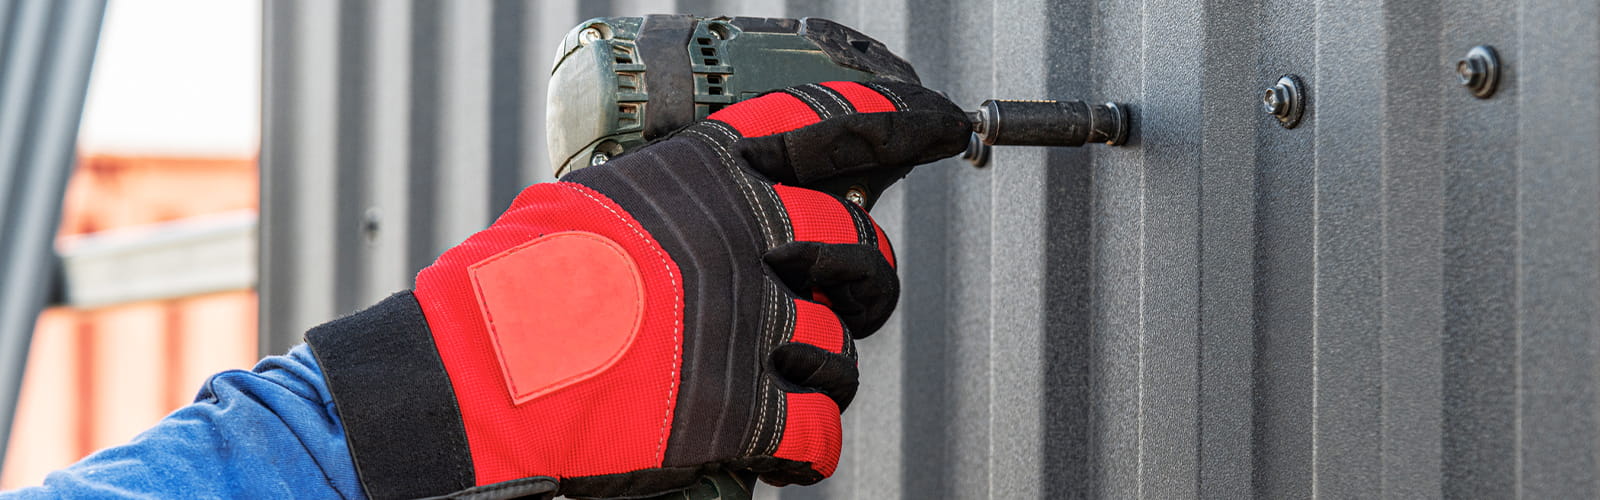
Getting aluminium cladding to sit securely and look right on an external wall comes down to a handful of decisions made before the first panel goes up. The substrate you're working with, the gap you leave behind the panels, and the fixings you choose all affect how the finished job performs over time, not just how it looks on day one.
Whether you're cladding a garden building, an extension, or a full elevation, the same principles apply. Understanding them now will save you from problems later, and it starts with knowing why the fixing approach matters as much as the panels themselves.
Why Aluminium Cladding Panels Need the Right Fixing Approach
Aluminium cladding panels are lightweight and low maintenance, but they still need to move, drain, and ventilate correctly once installed. Get the fixing approach wrong and you risk trapped moisture, panel distortion from thermal expansion, or fixings that work loose over time.
The right approach depends on what's behind the panels. A timber frame flexes differently to solid masonry, so the fixings, spacing, and even the type of screw or nail you use should be matched to the substrate rather than applied the same way everywhere. Getting this right from the outset means the cladding does its job for decades rather than needing early repairs. It also protects the wall build-up behind it, which is often more vulnerable to weather damage than the aluminium itself.
Choosing Between a Timber Frame and Masonry Substrate
Most external wall cladding projects fall into one of two categories: timber frame construction or solid masonry. A timber frame gives you a ready-made structure to fix battens into directly, which generally makes for a quicker and more forgiving installation.
Masonry walls, whether brick or block, need a different approach, usually involving treated battens fixed with appropriate wall plugs and screws rated for the masonry type. Neither substrate is inherently better for cladding, but each demands its own fixing strategy. Before you order panels or battens, confirm what you're working with, including whether there's existing insulation or render that will affect fixing depth. This decision shapes everything from batten spacing to the length of fixing you need.
Battening and Creating the Air Gap
Battens do two jobs. First, they give you a flat, even surface to fix panels to, and second, they create the air gap that lets the cladding breathe. This gap, typically 25mm or more depending on panel type and height, allows moisture to escape and prevents the build-up that causes rot or corrosion behind the panels.
This is the rain screen principle, where the outer panels shed the bulk of the rain while the ventilated gap deals with anything that gets through:
- Fix battens vertically or horizontally depending on how your aluminium cladding panels are designed to run
- Use treated timber or aluminium battens to avoid rot where moisture is present
- Space battens according to the manufacturer's guidance for panel size and thickness
- Leave the air gap consistent across the whole wall, not just in a few areas
Getting the battening right here makes every later step easier.
Nailing vs Screwing: Which Fixing Method Is Right for Your Wall?
So how do you attach cladding to an external wall once the battens are in place? The answer depends largely on your substrate and the panel system you're using. Screws are generally preferred over nails for aluminium cladding panels, as they provide a more secure, adjustable fixing and are less likely to work loose under thermal movement.
On a timber frame, self-tapping or self-drilling screws driven into battens usually give the most reliable hold. On masonry-backed battens, you'll typically be screwing into treated timber that's already anchored to the wall, so the same principle applies. Nails can work for lighter panel systems but tend to offer less resistance to expansion and contraction over time. Whichever method you choose, consistency across the wall matters more than the specific fixing type.
Getting Panel Alignment Right from the First Fix
Panel alignment sets the tone for the entire installation, so it's worth taking extra care with the first piece you fix. A slightly out-of-level starting panel compounds as you work across the wall, leaving a visibly uneven finish by the time you reach the far end. Use a spirit level or laser line to establish a true horizontal or vertical reference before fixing anything permanently.
Check alignment again after every few panels rather than waiting until the end, as small errors are far easier to correct early. Consistent spacing between aluminium cladding joints also contributes to a clean finish, so measure rather than eyeball each gap. A little patience at this stage pays off in a result that looks deliberate rather than approximate.
Common Mistakes to Avoid When Installing Aluminium Cladding Panels
Issues can arise, but the good news is that most cladding problems come down to a small number of avoidable errors, often made in haste to get the job finished:
- Skipping or under-sizing the air gap, which leads to trapped moisture and premature corrosion
- Using the wrong fixing type for the substrate, resulting in loose panels or damaged battens
- Rushing the first panel without checking level, causing alignment issues across the whole wall
- Ignoring manufacturer guidance on batten spacing and panel expansion allowances
Avoiding these mistakes from the outset means fewer callbacks and a finish that holds up to UK weather for years to come.
H2: Getting Your Cladding Project Off the Ground
At Click Metal, we supply aluminium cut to your exact dimensions using methods that include guillotine cutting, plate sawing, and extrusion cutting. We cut materials that include those suited to cladding and panel alignment projects like this one, with orders processed and dispatched within 48 hours and no minimum order charge.
If you're ready to move forward, you can order online through our shop. If you're unsure about panel sizing, thickness, or which fixings suit your wall, our team is happy to help. Call us on 01794 526090 or get in touch through our contact form and we'll point you in the right direction.
Recent Posts


