

- Material
-
- Aluminium 61
- Brass 8
- Stainless Steel 8
- Galvanised Steel 1
- Mild Steel 1
How to Fit Aluminium Stair Nosings for a Neat Finish
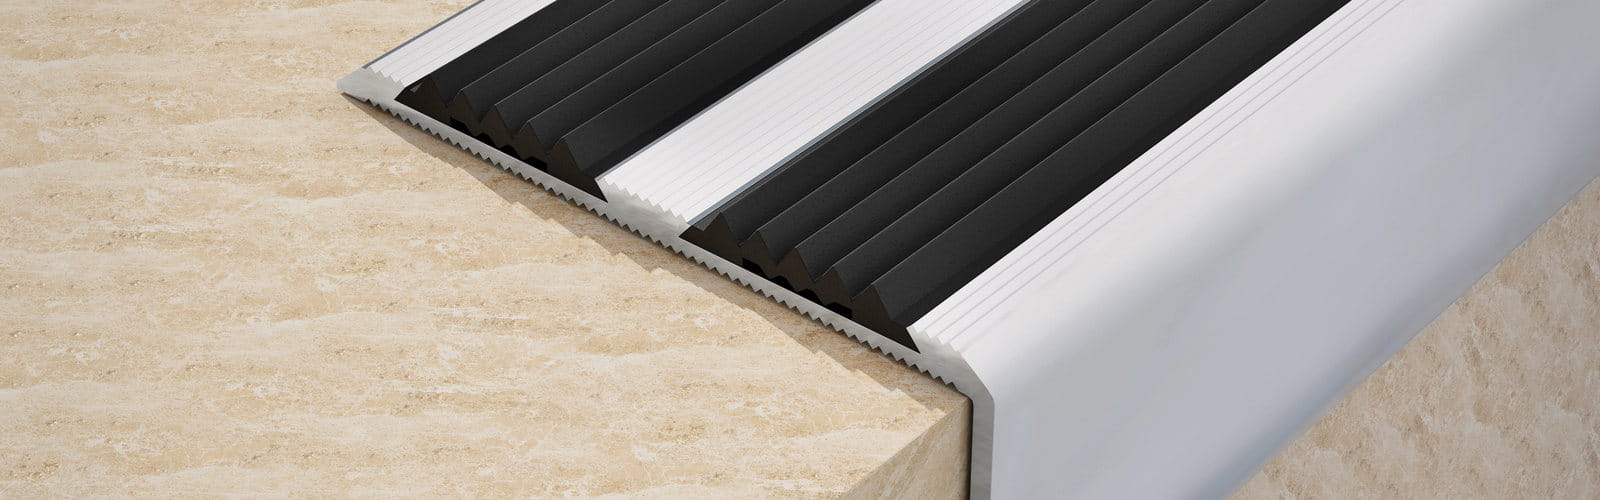
When fitting a stair nosing, you need to have a clean, solid surface, the right fixing method, and a cut that matches the width of your stairs exactly. So long as you have all three of these things, you will have yourself a safe, tidy stair edge that lasts for years. Of course, you first need to understand how to fit aluminium stair nosings, and that's where we come in.
This guide shows you how to fit aluminium stair nosings on timber and concrete, without specialist tools and without the usual gaps and wobbles. Whether you are replacing a worn edge or finishing new steps, we'll walk you through what you need to know, so you can be confident in your ability to complete the job.
How to Fit Aluminium Stair Nosings: Preparing Timber and Concrete Stairs
The first step is to look closely at each stair tread, because the nosing can only sit as flat as the surface beneath it. On timber stairs, remove any old nosings, pull out nails or screws and sand away rough patches. Fill splits or dents with wood filler and let it dry fully. On concrete stairs, brush off loose material, scrape away old adhesive and repair chips with a suitable repair mortar so the edge is firm and square.
Next, check the riser as well as the tread. Hold a spirit level and a straight edge across the step to find any dips, and measure the width in three places, since stairs are rarely perfectly uniform. Finally, wipe everything down and let it dry, as dust and grease are the main reasons adhesive fails.
With a clean, level surface ready, you can decide how the nosing will be held in place.
Choosing Between Fixing Adhesive and Screw Fixing
When thinking about how to fit aluminium stair nosings, the choice between fixing adhesive and screw fixing matters more than most people expect. Here's why.
Fixing adhesive gives a neat finish with no visible screw heads, which suits concrete and well-prepared timber, as long as the surface is clean and you press the nosing down firmly until it grips. Conversely, screw fixing is stronger on busy staircases, because it holds the nosing mechanically rather than relying on a bond alone.
Where a profile has pre-drilled holes, use countersunk screws so the heads sit flush and nothing catches a foot. On concrete, you will also need suitable wall plugs. Many fitters combine both methods for the most secure result, using a thin bead of adhesive along the back and screws at regular intervals. Whichever you choose, an aluminium nosing only sits properly if it is the right length, so cutting comes next.
How to Cut an Aluminium Transition Strip or Nosing to Width
You might be wondering how to cut an aluminium transition strip. Well, the same method works for a stair nosing, and you do not need a workshop. Start by marking your measurement on the back of the profile with a pencil, then use a square to carry the line across so the cut stays straight.
From there, use a fine-toothed hacksaw or a mitre saw with a metal-cutting blade as this gives the cleanest result, and clamping the profile stops it from chattering. Cut slowly, then remove sharp burrs with a fine file or emery paper so the edge is safe to handle. The same approach applies to a threshold strip at the top or bottom of the stairs.
If you would rather skip the cutting, our pieces are supplied cut to your length with a general tolerance of plus or minus 2mm, so they arrive ready to fit. With the profile cut, you can move on to fitting.
Fitting the Nosing Step by Step for a Safe, Neat Stair Edge
Once the nosing is cut, a methodical order of work keeps the result neat. These steps show how to fit aluminium stair nosings from first dry fit to final check:
- Dry Fit First: Check the nosing sits flush, with the anti-slip insert facing upwards and no gaps at either end.
- Mark and Fix: Draw around the profile, then apply adhesive or drill pilot holes and press or screw it down firmly.
- Check the Transition: Make sure the nosing meets the floor covering without a lip, so the change feels smooth underfoot.
- Wipe and Protect: Clean away excess adhesive straight away, as an anodised finish looks best when it is not stained.
Leave the adhesive to cure fully before using the stairs. Once set, run your hand along the edge to check it feels solid. It's easy to get caught out while fitting stair nosings, so let's look at the mistakes that catch people out.
Common Fitting Mistakes and Getting Your Nosings Cut to Size
Even careful DIYers slip up now and then, and knowing how to fit aluminium stair nosings properly includes knowing what to avoid:
- Skipping the Dry Fit: Gaps at the ends or an uneven overhang are easy to spot before fixing, but hard to correct afterwards.
- Fixing to a Dusty Surface: Adhesive needs a clean base, otherwise the nosing lifts over time.
- Leaving Screw Heads Proud: Raised heads catch shoes and spoil the finish.
Because stairs affect safety, it is also worth checking the current building regulations for your property, which set out requirements for stair design. This won't necessarily apply to individuals fitting stair noses in their own homes but will apply to commercial jobs. Ensuring compliance from the start spares you the headache of fixing issues later on.
Whatever your plans, a stair nosing is only as good as its cut, so every aluminium nosing we supply is cut to your exact measurements, usually despatched within 48 hours, with no minimum order charge. For larger or commercial projects, our parent company, Doré Metal Services, can help.
Order Your Aluminium Nosing Cut to the Exact Width of Your Stairs
A neat finish comes down to preparing the surface, choosing the right fixing method and cutting accurately, and each of those is easier when the profile arrives at the right length. Browse our aluminium range online or call us on 01794 526090 if you would like advice. If you cannot find the size you need, send your requirements through our contact form and we will do our best to help.
Order online and finish your stairs with confidence.
Recent Posts


